Restoring a GameBoy can be a rewarding and nostalgic experience for gaming enthusiasts. Not only does it allow you to revive a classic handheld console, but it also offers an opportunity for personalization and customization. If you’re eager to embark on this journey, follow these steps to source parts and bring joy back to your gaming sessions.
Finding a GameBoy that can be refurbished
The Nintendo GameBoy is very robust and durable, even blindfolded you would hardly have a hard time picking a GameBoy on a flea market that can be restored and refurbished. But the main things to pay attention to is the presence of some vital components, such as:
- The power switch: Make sure the power switch has a click to it when switching from ON to OFF, usually when it does not have this click and the switching is smooth, it means that the power switch is dirty and in order to properly clean it you would have to de-solder the switch.
- The power indicator turns on: You will be already on a good spot if the power indicator turns on when you put some batteries on the GameBoy. Bring some batteries along with you, for testing, whenever you go out to source a GameBoy device.
- You can hear the sound of it booting: The GameBoy boot screen animation plays a chiming sound every time you boot, even with no game cartridge. If you can’t hear the chime, try turning up the volume. Even if you can’t hear any sound from the GameBoy it is fixable. There are two common fixes for this: Replacing the speaker or replacing the audio capacitor, both of these require some soldering, but they are easy to manage.
- Screen turns on: This should be the least of your concerns, unless you want to keep the original screen. Even if you don’t plan to mod it with an IPS display you can still get dot matrix displays from parts retailers online.
- Oxidation: This should be a concerning one, any sign of oxidation might compromise the life of the GameBoy, you can take the rout of cleaning all the oxidation from the board, but it might take a lot of time and still not guarantee that you got rid of 100% of it.


Sourcing replacement parts
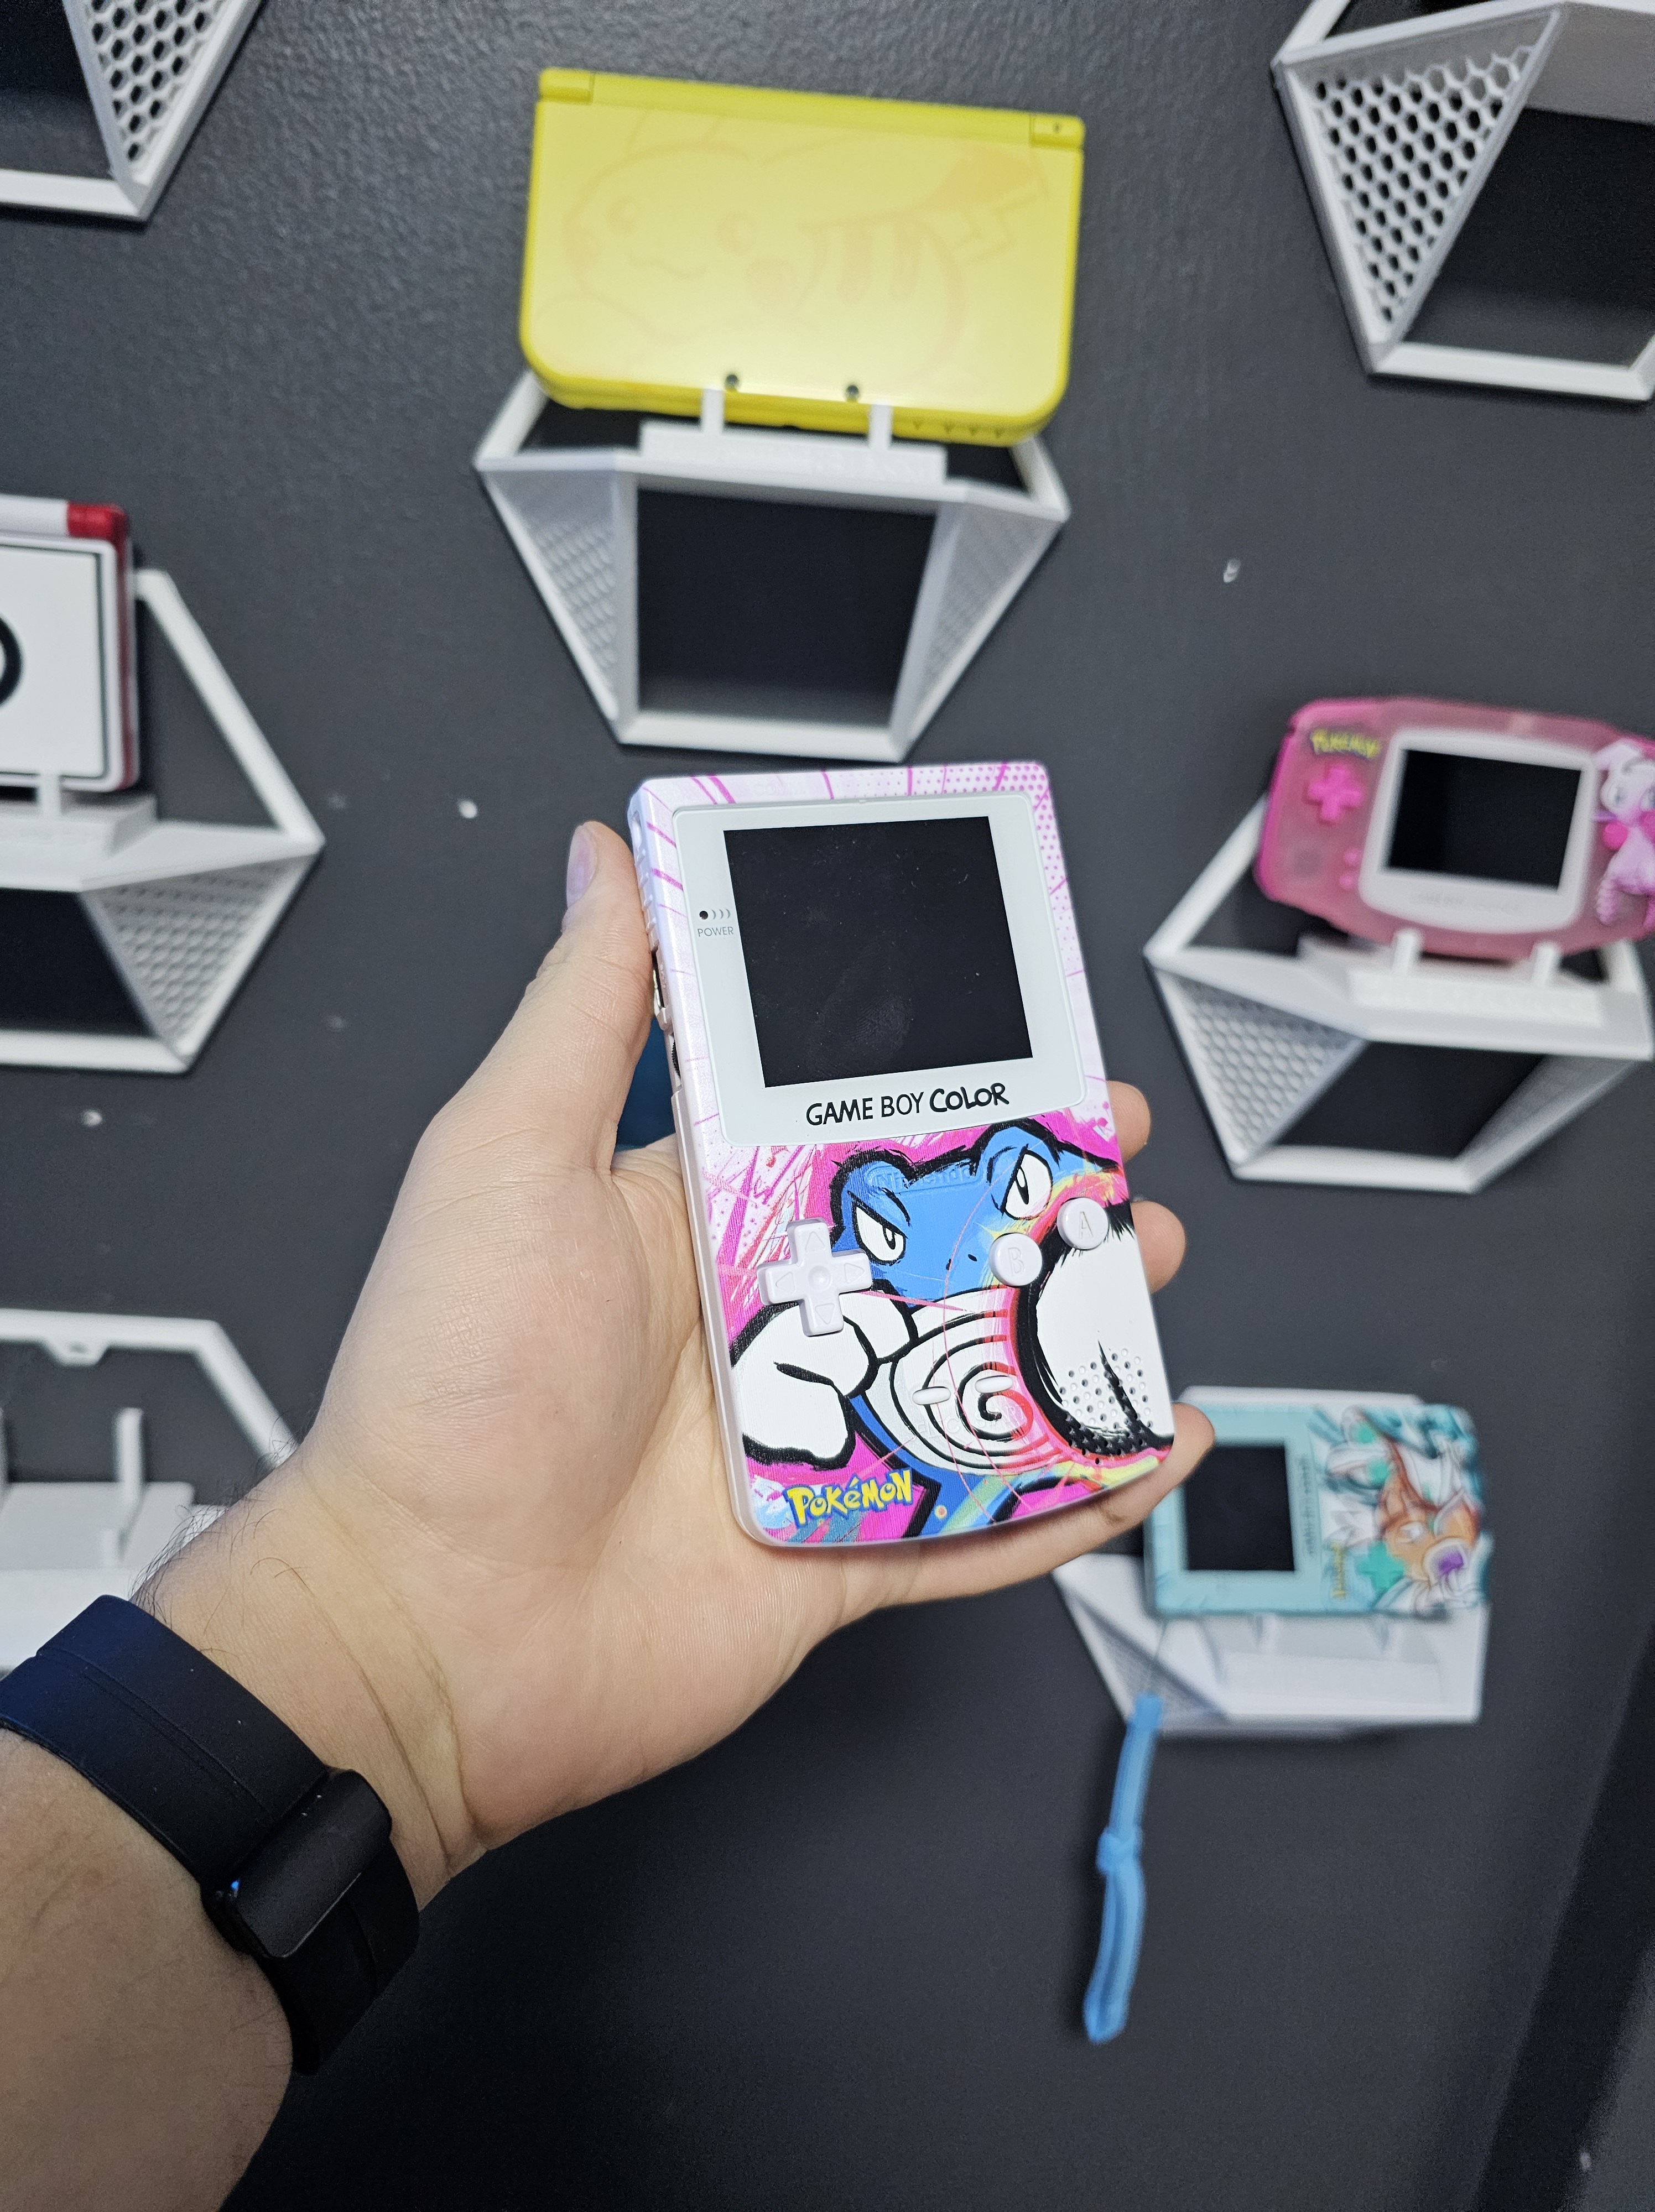
You will probably want your GameBoy to look at least as good as new, so you’ll likely want to put a new shell on it, with whatever color you would like. Finding replacement shells online is easy, and you can browser AliExpress to find a variety of them.
Be careful when purchasing the parts, specially if you’re getting an IPS Display mod, those come on a variety of shapes that are close to but not the same as the original screen fitment, it is highly recommended to source display parts within a kit, there are a bunch of kits that include the shell housing and the display that the shell was made for, you can find those on AliExpress without any issues and there’s still a high variety of colors to choose from.
If you’re still unable to find a specific shell you want, bundled in a kit, I suggest paying a lot of attention to the shell’s product description and look for the display specification, it might say that the shell is made for “Funnyplaying IPS V2” or something arround those lines, so then you can get that specific screen and it’ll fit.
Buttons mods
These are super fun and add a lot of character to your build. Having cool looking buttons on a flashy shell with a nice screen is the apex of GameBoy modding. You just gotta whatch out for the quality of the buttons, sometimes they can be a little to short or a little to tall, what would make them looser or tighter in the shell, therefore making the gaming experience not so comfortable.
There are online shops like SakuraRetroModding that sell very good quality button mods for various devices, your chances are far greater with them.
How about Li-Po batteries and USB-C charging?
These is already an advanced mod, requires desoldering OEM components and soldering new components elsewhere, to make everything fit in the case. It might even require you to cut your shell. But certainly a mod that is cool, having the ability to charge your GameBoy while playing is something that was only present on the GameBoy Advance SP, and with a proprietary charger.
With the battery mods available on the community, you could have an USB-C charging port and a lithium battery inside your GameBoy, for cheap, if your soul desires it.
It is not a mod that I personally recommend, as a set of good rechargeable AA or AAA batteries is cheap and the GameBoy board was not engineered to charge while playing. You can even find rechargeable batteries with a USB-C port, but those need to be taken out of your GameBoyd to be charged. It’s not really a big deal, to charge while playing, as AA or AAA batteries last a fairly long time.
Sound amplifier!
This is another cool mod, that I personally haven’t done yet, but highly considering. Adding an amplifier to the GameBoy speaker!
I don’t consider the original speaker to be of low volume, but it is nice to make it louder, and not difficult. You just have to desolder your speaker, solder it to the amplifier board that you can get from AliExpress and solder the amp board to the device’s motherboard. It’s an easy soldering job to do, and the highest compromise upon failure is that you’ll have to use headphones to hear your game.
Keep in mind that this mod will increase battery consumption, as the amplifier board will suck more power from the batteries to reach higher volumes.
Here’s to fun a retro modding scene!
I started doing these mods and restoring faulty GameBoys not longer than 2 years ago, it really feels like a therapy for me, and I have restored just around 10 units.
This not only got me into some really cool hobby, of modding and repairing my own eletronics, but also made me some new friends along the way.
If you want to talk about retro modding, hit me up and ask me a question. On my home page I’ll be posting all the questions on a new section on this blog.
Leave a Reply